Guide #8
Configuring Your Business Profile & Workspace Settings
Complete operating guide for Settings, including branding, compliance, SMTP, AI, payment gateway, and optional module controls.
Configuring Your Business Profile & Workspace Settings
Settings is your ERP control panel. The values you configure here dictate how your business presents itself to the world (via invoices and emails), how taxes are calculated, and which advanced features are available to your team.
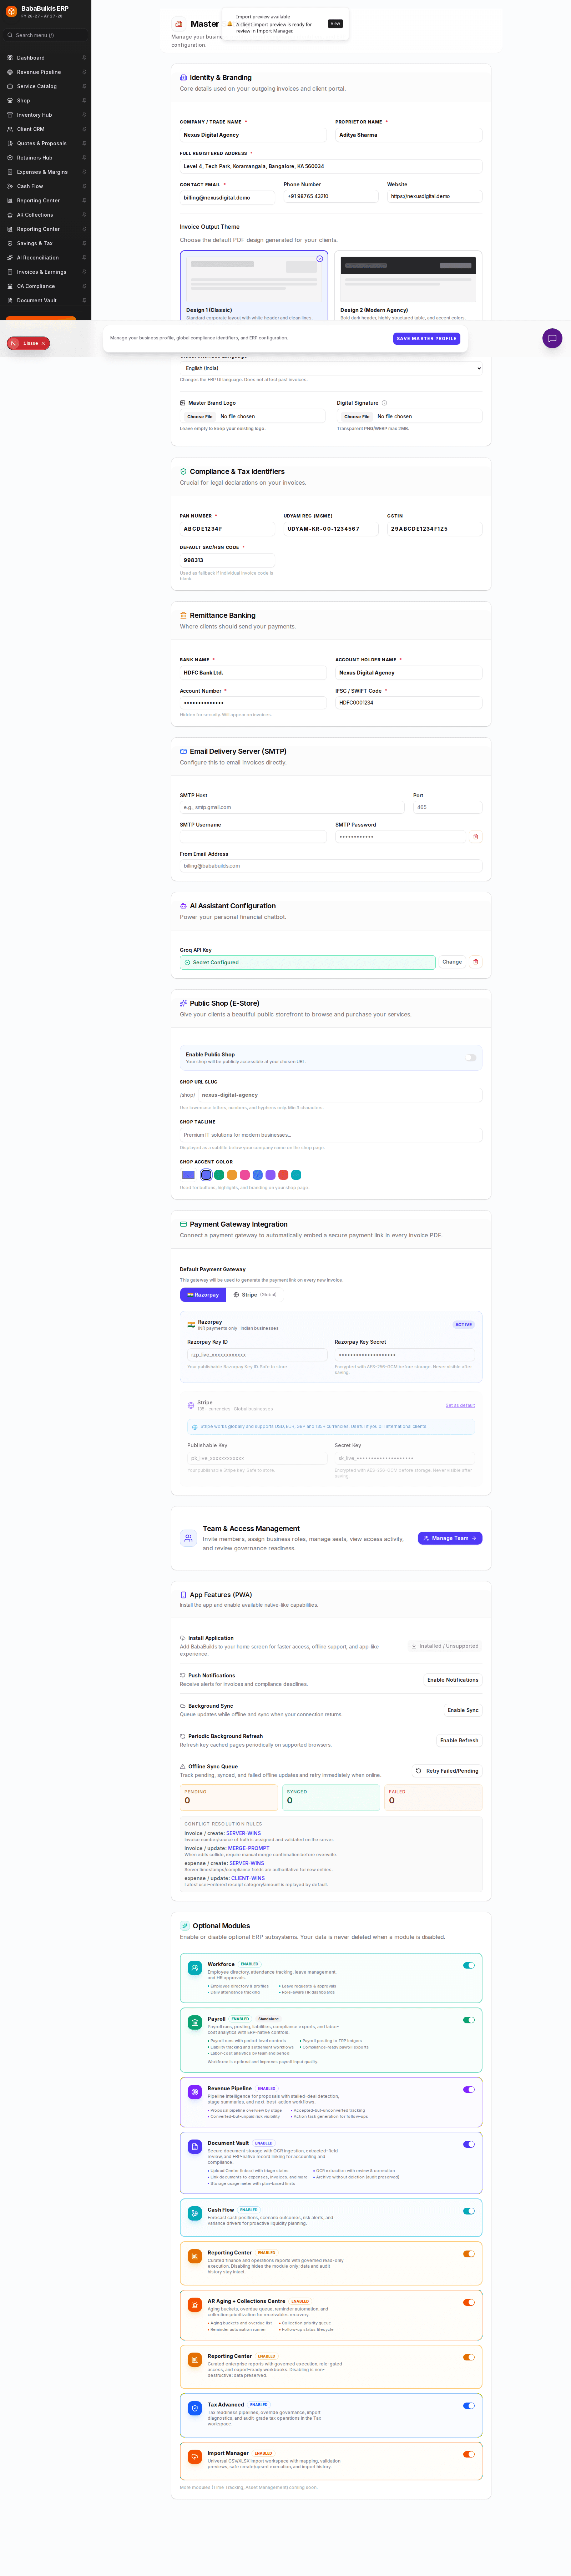
Step 1: Business Identity & Branding
Your business profile information appears on all generated PDFs and client-facing communications.
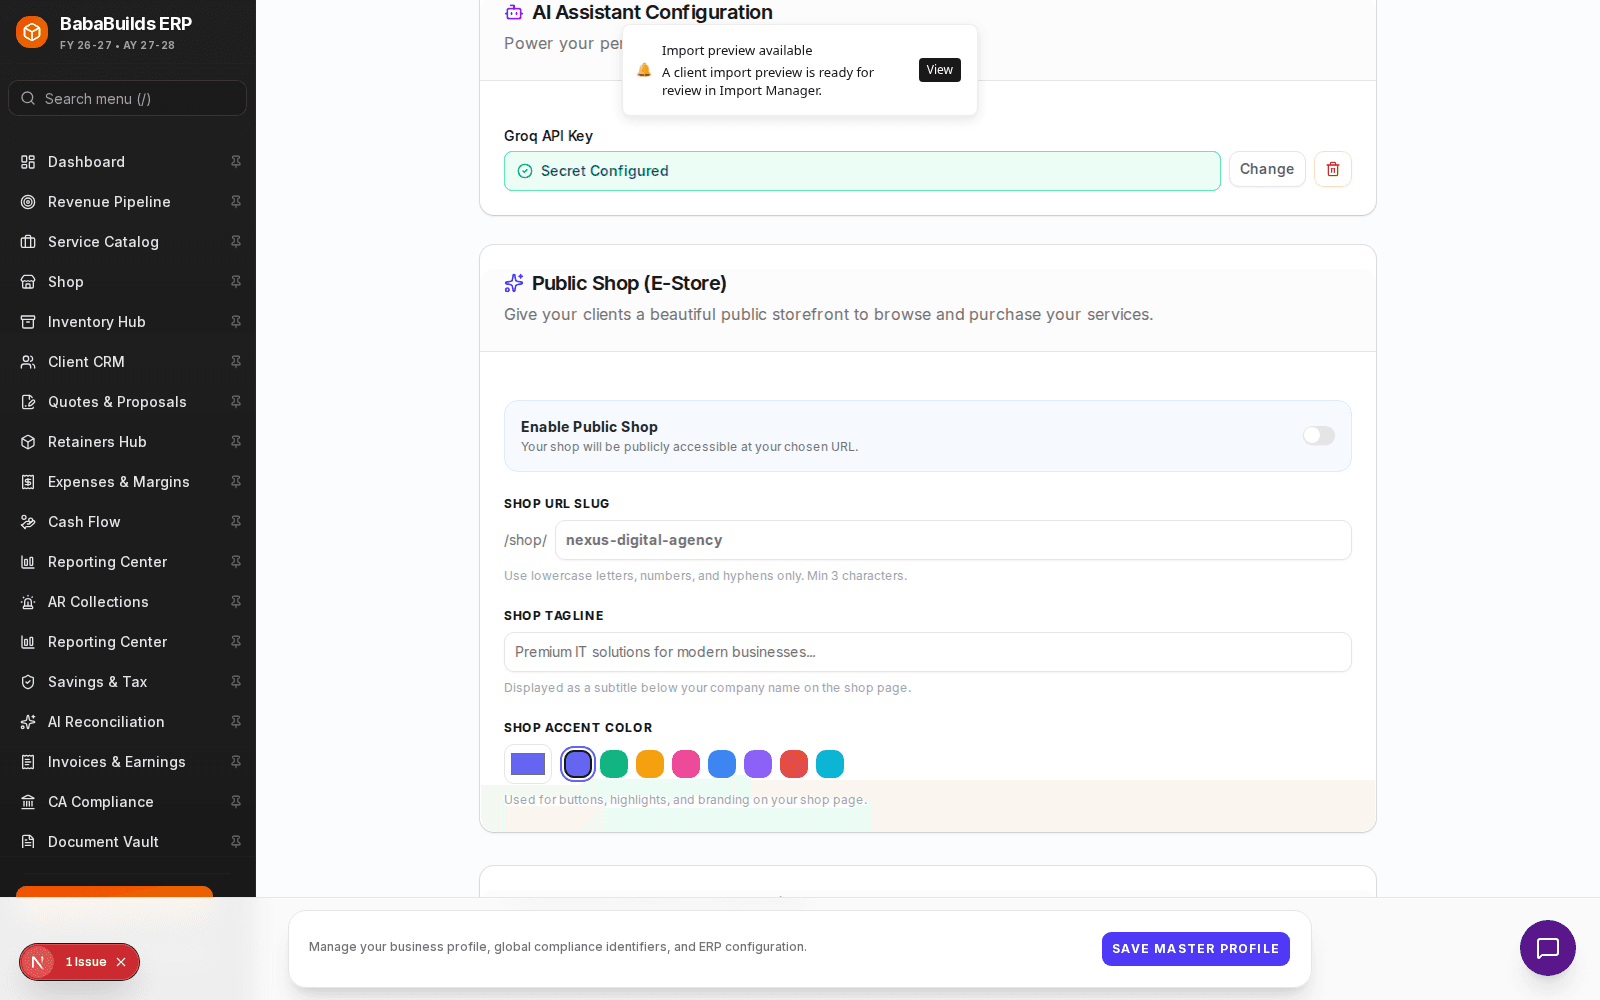
Navigate to Settings
Click on Settings at the bottom of the sidebar.
Update Core Identity
Enter your Legal Business Name, operating address, and contact details.
Upload Logo
Upload a high-resolution logo. This will be automatically embedded into the header of your invoices.
Step 2: Financial & Compliance Configuration
Ensuring your tax and banking details are correct is critical before sending your first invoice.
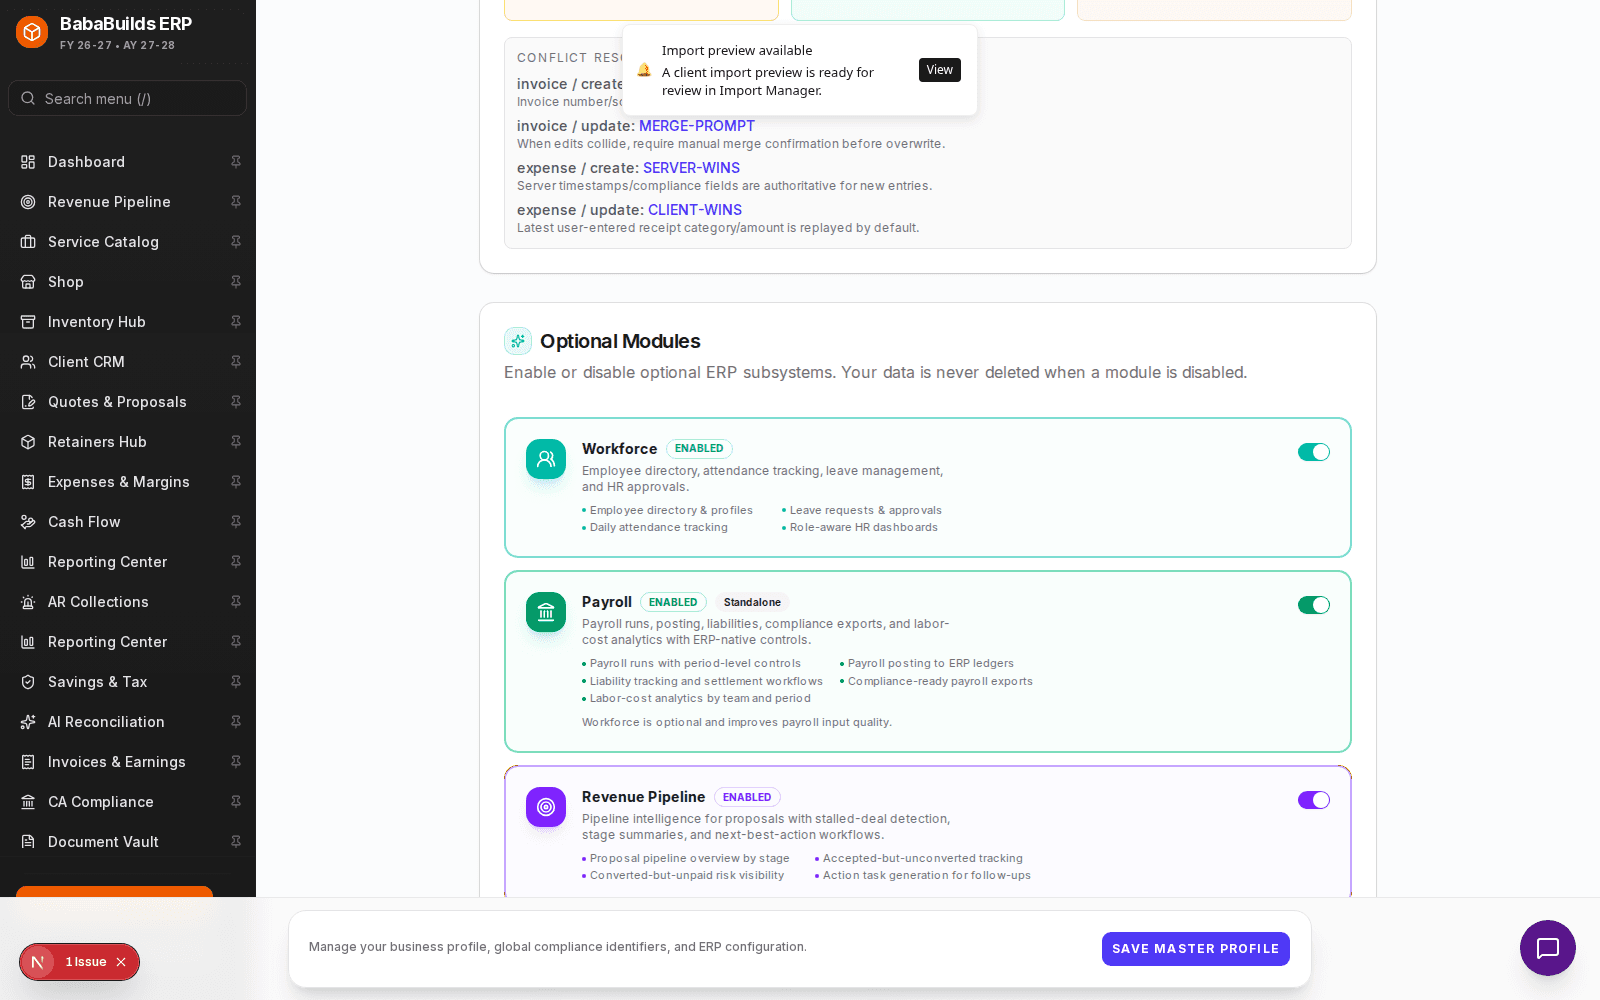
- Tax IDs: Enter your local tax registration numbers (e.g., GSTIN, VAT, EIN). These are legally required on invoices in many jurisdictions.
- Bank Remittance Details: Clearly state your bank name, account number, routing/IFSC codes, and account holder name so clients know where to send wire transfers.
- SMTP Configuration: To send invoices directly from BabaBuilds ERP, enter your email provider's SMTP credentials. We recommend using an App Password for security.
Step 3: Enabling Optional Sub Systems
BabaBuilds ERP is modular. You can turn on advanced features only when your business needs them, keeping the interface uncluttered.
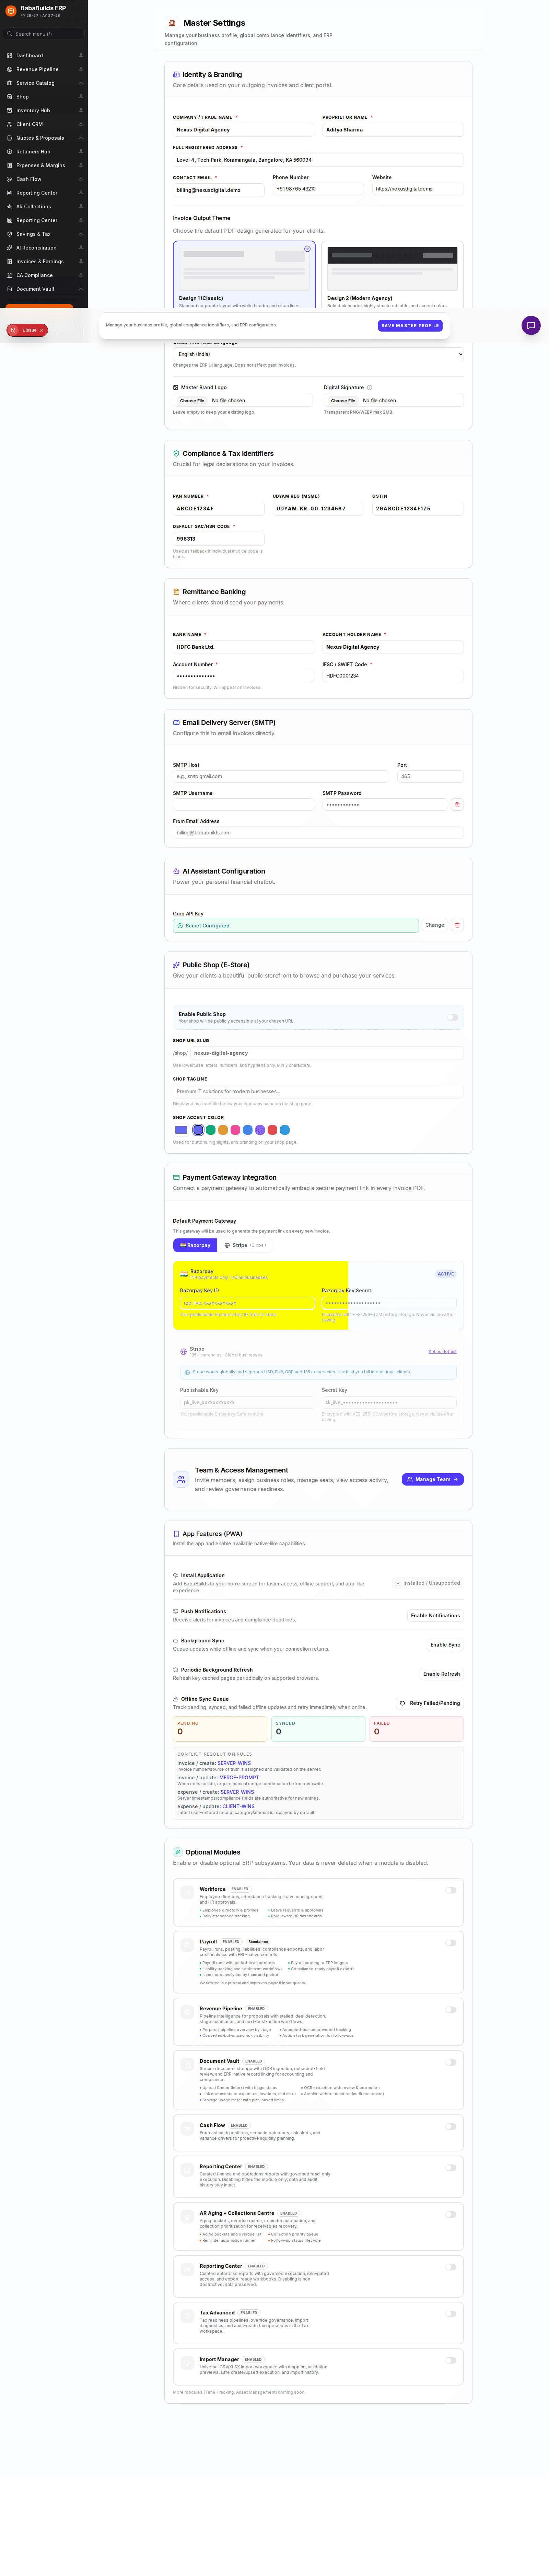
From the Workspace Modules section, toggle on modules such as:
- Workforce & Payroll
- Revenue Pipeline
- Document Vault
- Cash Flow
- AR Aging + Collections Centre
- Reporting Center
- Import Manager
Enabled modules will immediately appear in your sidebar navigation. For more details on what each module does, see: Optional Sub Systems — Overview.
Best Practices
Do
- Send a test email to yourself immediately after configuring SMTP settings to verify they work.
- Double-check bank account numbers; a typo here can result in lost or delayed payments.
Don't
- Change your core business legal name or Tax ID midway through a financial year without consulting your accountant, as this breaks invoice continuity.
- Enable all optional modules at once if you are a solo freelancer; start simple and activate modules as you grow.
FAQ
Why are my invoices failing to send via email?
This is almost always an SMTP issue. Ensure your SMTP host, port, username, and password are correct. If using Gmail or Outlook, you must generate a specific "App Password" rather than using your main account password.
Can I have different branding for different clients?
No, the branding configured in Workspace Settings applies globally to all invoices generated within that workspace. For multiple brands, consider provisioning a separate workspace.
Was this helpful?
Your feedback improves the Help Center for everyone.
No personal data required. Keep feedback focused on the workflow.
Still have questions?
Our support team is just an email away.